If you look at our domestic design, will you imagine what type of home the overseas white-collar workers are and what kind of bedroom they have? In fact, taking the Nordic people, the decoration of their bedroom is generally relatively refreshing, and the complex and luxurious decoration is not common. Most of them are based on concise styles, and they are also designed to be simple and comfortable in color design. Today we will take a look at the designs of these white-collar domestic bedrooms.
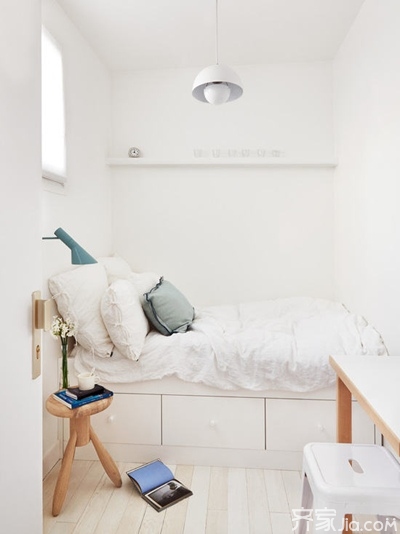
How to design a small space bedroom, you can refer to this case, the design of the bed against the wall can save a lot of space, the use of tatami design, make a design at the bottom of the bed, to solve the shortcomings of the room narrow cabinets placed after the congested.
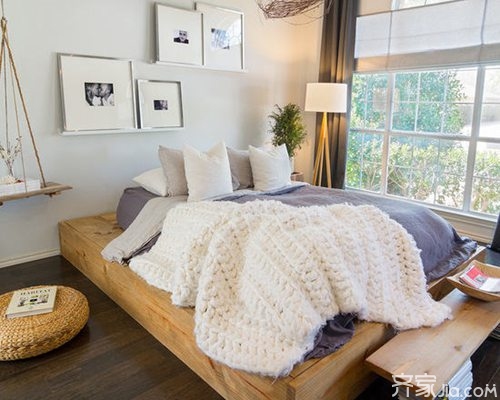
Seeing such a bedroom, after you read it, you don't really want to lie down and enjoy a complete sense of relaxation. The natural-colored beds add a touch of warmth to the Scandinavian style. The bedside partitions are used for storage. Hanging hanging panels serve as bedside to make life more fun.
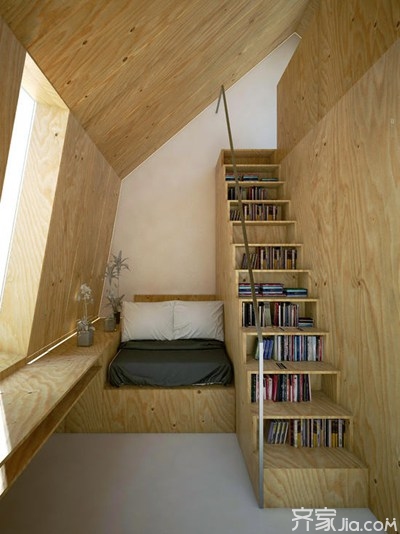
The attic cubic design is very individual, the bookshelf can be omitted directly, the upper and lower stairs are made into small cabinets that can be stored, and the drawers are made of drawers and can be used as desks.
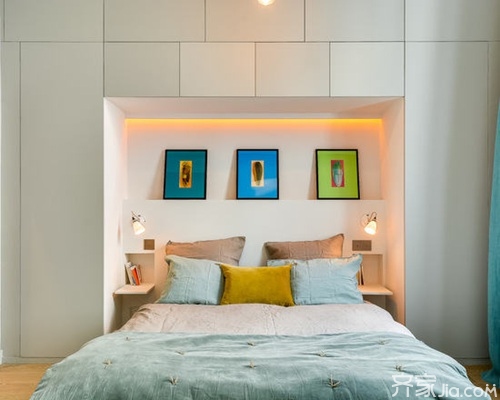
The design of the bedroom is fresh and natural in color. The wardrobe and hanging cabinet are designed using the headboard space, so that it can be accommodated invisible. The bedside symmetrical cabinet placed on the wall covers the function of the nightstand and is more simple and interesting.

A small bedroom combines two different functions of rest and work. The hollow walls of the material cut off the bedroom and the small study. The continuous design keeps the overall integrity of the space and the functional division.
Bedroom bedroom design
The Installation of Mounting Unit
1. Make the concrete base according to solution drawing, locate embedded bolts and set out strings by Laser Level to ensure the centers of embedded bolts in the same elevation as accurate as possible on vertical, horizontal direction and at end face.
2. Locate the Anchor Plate on the concrete base and adjust the position according to solution drawing(remove M14 washer,M14 spring washer,and M14 nut if they are connected to embedded bolts now),and then fasten M14 washer, M14 spring washer, and M14 nut with the tightening torque of 60N.m.
3.Take out the Hexagon Bolt Kit with Post B Corrugated Gasket M12x95 and remove its nut, spring washer, one washer, and corrugated gasket. Insert the Post A, B, C in to Anchor Plate according to the Hexagon Bolt Kit with Corrugated Gasket M12x95 drawing and then fix them by two sets of Hexagon Bolt Kit with Corrugated Gasket M12*95. Post C Post A
4.Remove the bolt kits M12*90 from all the Posts and Pre-Assembled Supports and unfold the embedded Supports, fasten them on the Posts by bolt kits M12*90 according to the drawing.
Installation of Rails
1.Please check the length of Beam before place it onto the Pre-Assembled Supports, otherwise extend it with Splice forBeam first. There are 4 self-tapping screws in each side and total 8 self- tapping screws in both sides. We strongly recommend NOT extend the Beams on Preassembled Supports.
2.Before locate the Beams, mark the position of the Beam son the surface of Pre-Assembled Supports with maker pens according to solution drawing for easier installation. Place the Beams on the 55*80 Tube of Pre-Assembled Supports and fix it with C Clamp Kits. Install all the Beams in the same step. The tightening torque will be 20N.m. C Clamp Kit Side Beam(Please arrange 3-4 persons to install when the array is long.)
Installation of Solar Panels
1.Place the panels above the Beam 85, fixing it with Wide End Clamp Kit in the side and Inter Clamp Kit in the middle. Install all the panels in the same steps until complete installation of al panels. Fasten all the bolts with tightening torque of 10N.m.
2.Complete installation, and please inspect and make sure all the bolts are fastened.
Solar Mounting System For Green House
Solar Panel Mounting Frames,Solar Panel Mounting Systems,Greenhouse Solar Mounting System,PV Mounting Systems
Hebei Honde Plastic & Metal Co., Ltd. , https://www.foundation-system.com