What is toilet waterproofing practice? What is the waterproof height?
When it comes to bathroom renovation, one of the most critical steps is waterproofing. This process plays a vital role in protecting your home from water damage and ensuring the safety of both your family and your neighbors. A well-executed waterproofing project prevents moisture from seeping through walls and floors, which could lead to structural issues, mold growth, and even costly repairs down the line. Given the high usage and unique structure of bathrooms, proper waterproofing is essential for long-term durability and peace of mind.
Key Steps in Bathroom Waterproofing

Here are the detailed procedures to follow when performing bathroom waterproofing:
- Ensure the floor slope directs water toward the drain. The slope should be gentle near the entrance and steeper near the drain to facilitate quick drainage.
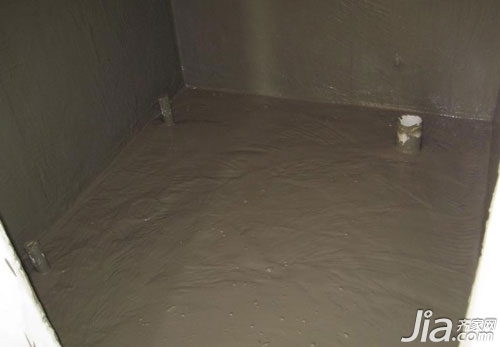
- Reinforce areas around pipes and floor drains. Apply sealant at the pipe roots, smooth the surface with cement, then apply waterproof coating and reinforce with glass fiber cloth (1–2 layers).
- Clean and prepare the wall surfaces thoroughly. Remove any dust or debris, and ensure corners and joints are properly rounded. Apply waterproof paint with glass fiber reinforcement as needed.
- The total thickness of polyurethane waterproof coating should exceed 1.5 mm. Do not rely solely on the number of coats—apply the first layer around the pipe roots and corners, let it dry for 4 hours, then proceed with the main application. Avoid bubbles or leaks during the process.
- Apply the waterproof coating vertically after the horizontal surfaces. For the final coat, sprinkle coarse sand to help bond with the cement mortar later.
- Extend the waterproof layer beyond the bathroom door by 300 mm. On the floor, the waterproof layer should rise 200 mm above the ground level.
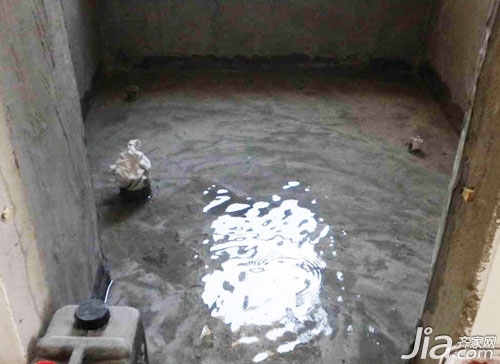
- Conduct a 36-hour water retention test to check for leaks and ensure the waterproofing is effective.
Recommended Waterproof Height in the Bathroom
The height of the waterproof layer on walls and columns should be at least 100 mm above the finished floor. For high-moisture areas such as bathrooms, especially where direct water contact occurs, the following guidelines should be followed:
- For walls with a showerhead installed, the waterproof layer should extend 1800 mm above the floor.
- If there’s a concealed pipe without a hose, the waterproof layer on either side of the wall should reach at least the height of the showerhead, but no less than 1800 mm.
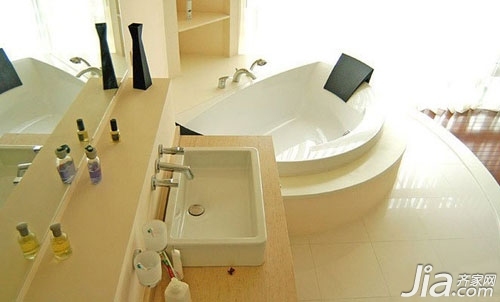
- For walls adjacent to a bathtub, the waterproof layer should go up to 300 mm above the top of the tub.
- On walls next to a sink, the waterproof layer should be 300 mm above the sink level.
- For urinals, the waterproof layer should be 1800 mm above the floor.
- For pipes passing through the floor (including sleeves), the waterproof layer should be 100 mm above the pipe root.
Proper bathroom waterproofing is crucial for maintaining the integrity of your home and avoiding future problems. Whether you're doing it yourself or hiring professionals, following these steps and height requirements will significantly reduce the risk of leaks and water damage. Always remember that a little extra effort during the waterproofing phase can save you a lot of trouble later on. Take care of your bathroom, and it will serve you well for years to come.
Bathroom Renovation, Decoration, Waterproof, Entrance Decoration, Cement, Glass Coating, Interior Decoration, Room, Glass Door, Bathroom Waterproof Practice, Toilet Waterproof, Bathroom Door, Bathroom Leakage
-
Excellent Sound Absorption: These panels effectively reduce echo and reverberation, creating a more comfortable and acoustically balanced environment, suitable for offices, studios, theaters, and homes.
-
Customizable Design: Available in various colors, finishes, patterns, and textures, they can be tailored to match different interior styles and design preferences.
-
Durability: Made from medium-density fiberboard (MDF), the panels are robust and long-lasting, resisting wear and tear over time.
-
Eco-Friendly: Many MDF panels are made from recycled wood fibers, contributing to sustainable building practices and reducing environmental impact.
-
Easy Installation: With user-friendly mounting systems, these panels can be installed with minimal effort, whether for walls or ceilings.
-
Versatile Applications: They are suitable for a wide range of environments, from residential to commercial spaces, offering both functional and decorative benefits.
-
Fire and Moisture Resistance: Depending on the treatment, some MDF acoustic panels also provide enhanced resistance to fire and moisture, ensuring safety and durability in different settings.
These features make MDF acoustic panels a practical and stylish solution for anyone looking to improve acoustics without compromising on design.
acoustic wood panels,acoustic wood wall panels,acoustic panel manufacturers​,acoustic panel,acoustic board panels
Linyi Dongtai Decoration Materials Co., Ltd , https://www.dongtaiwood.com